Smart thermostat compatibility is the quiet check that should happen before you compare features, prices, or app screenshots. A thermostat may look simple on the wall, but it controls heating and cooling equipment that can vary a lot from one home to another.
If you are checking smart thermostat compatibility before buying, the goal is not to become an HVAC expert. The goal is to collect the right details, avoid guessing at wires, and choose a model that clearly matches your system. A careful five-minute check can prevent a confusing install, a return, or a thermostat that needs an adapter you did not expect.
This guide keeps the decision calm and practical. You will look at the existing thermostat, identify the system type, check power needs, review manufacturer compatibility tools, and know when to stop and ask a pro. WattCalm provides general smart-home and energy-habit information, not electrical, HVAC, or financial advice. Always follow product manuals and hire a qualified professional for wiring or system changes.
Why Smart Thermostat Compatibility Matters
Smart thermostat compatibility matters because the thermostat is not just a remote control. It is the control point for equipment such as a furnace, air conditioner, heat pump, boiler, or multi-stage system. If the new thermostat cannot support that equipment correctly, the app features will not matter.
ENERGY STAR explains that smart thermostats can support features such as scheduling, remote control, and automatic adjustments, but compatibility still comes first. Its smart thermostat guidance also notes that the absence of a C wire does not always make a home incompatible, but it can affect which models or adapters will work: ENERGY STAR smart thermostat guidance.
After that source check, bring the decision back to your own wall plate and HVAC equipment. A thermostat that works beautifully in one home may be the wrong choice for another home with different wiring, voltage, or heat pump controls.
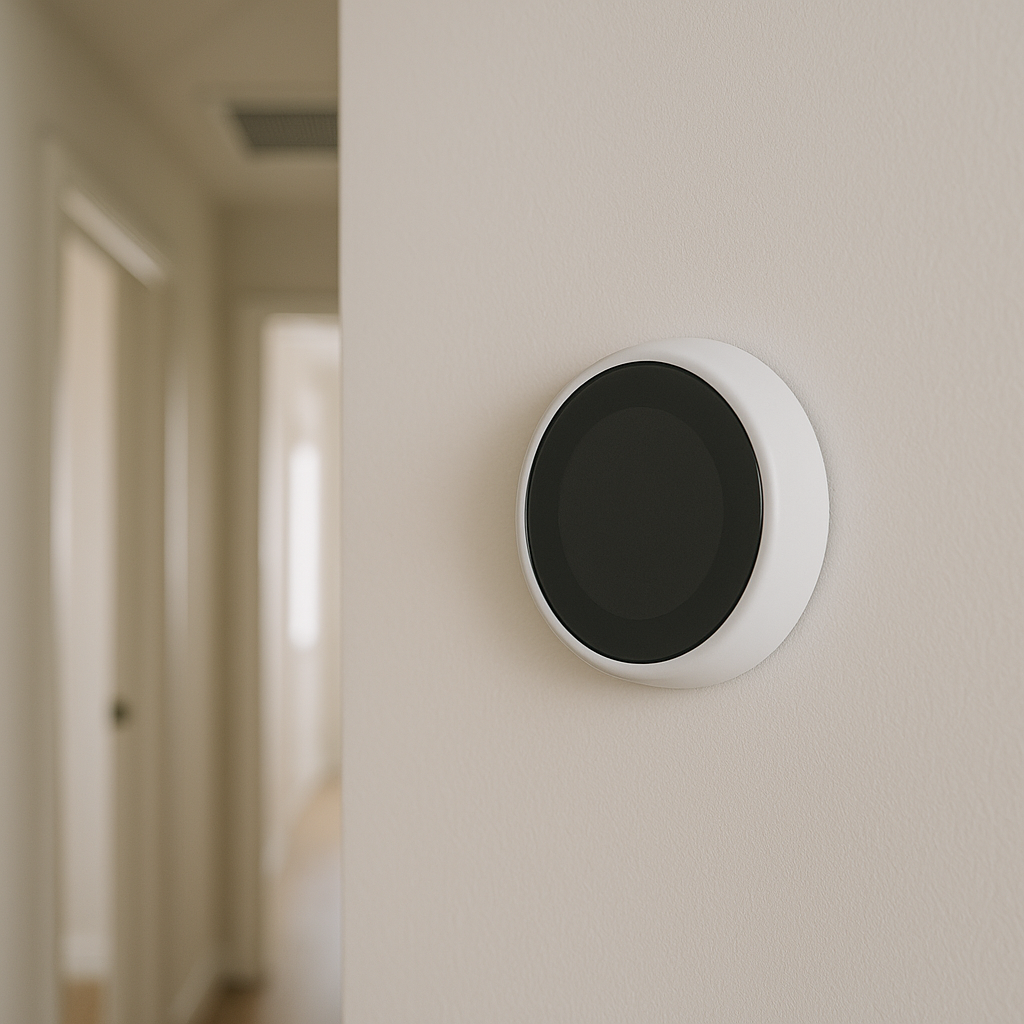
Start With the Thermostat You Already Have
Before shopping, take clear photos of the current thermostat while it is still connected. Photograph the front, model label if visible, wiring terminals, and any labels on the base plate. Turn power off at the HVAC breaker before removing a thermostat faceplate, and do not disconnect wires just to take a better picture.
Write down the wire labels
Most compatibility tools ask for terminal labels such as R, Rc, Rh, C, W, W2, Y, Y2, G, O/B, AUX, or E. The label matters more than the wire color. Write down the terminal letters exactly as they appear, including any jumper between Rc and Rh.
Note the old thermostat type
Also note whether the old thermostat is battery-powered, hardwired, programmable, communicating, or part of a proprietary system. Some manufacturer-specific communicating thermostats use terminals or data wiring that standard smart thermostats may not replace directly.
Check the Big Compatibility Questions First
Smart thermostat compatibility gets easier when you answer the largest questions before worrying about small features. Start with system type, voltage, power, and equipment complexity.
- System type: identify whether the home has forced air, a heat pump, boiler, radiant heat, electric baseboard heat, or more than one system.
- Voltage: most common smart thermostats are made for low-voltage 24V systems, not line-voltage electric baseboard or high-voltage controls.
- C wire: check whether a C terminal is connected at the thermostat and at the HVAC control board, or whether the model offers an approved adapter.
- Heat pump controls: confirm O/B, auxiliary heat, emergency heat, and dual-fuel details before buying.
- Stages: count whether the system has one or more stages of heating and cooling, since not every thermostat supports every stage combination.
- Accessories: humidifiers, dehumidifiers, ventilators, and remote sensors may require extra terminals or a specific thermostat model.
Google's Nest compatibility help is a useful example of how detailed this check can be. It asks users to identify wires and system details before installation, and its support page notes that some systems may require a C wire or a compatible power accessory: Google Nest thermostat compatibility help.
That does not mean you need a Nest thermostat. It means you should expect any serious brand to ask similar questions before saying a thermostat is compatible.
How to Check Smart Thermostat Compatibility Step by Step
Use this process before adding a thermostat to your cart. Exact menus and labels vary by brand, but the order of checks is useful for most beginner purchases.
- Turn off power before opening the thermostat. Use the HVAC breaker or switch. If you are not sure how to do that safely, stop and ask a qualified person.
- Take clear photos before touching anything. Capture the existing wiring and labels while each wire is still connected.
- List every terminal label. Do not translate colors into labels. Write what the terminal says.
- Identify the heating and cooling equipment. Look for furnace, air handler, heat pump, boiler, or baseboard details from manuals, labels, or service records.
- Run the brand's compatibility checker. Use the exact wire labels and system type, not guesses.
- Check the C-wire result carefully. If the checker says an adapter, power connector, or pro install is needed, include that in the real cost.
- Read the installation notes before buying. Confirm whether the model supports your stages, heat pump setup, accessories, and Wi-Fi requirements.
- Save the original setup photos. Keep them until the new thermostat has worked through heating, cooling, fan, and schedule tests.
Use compatibility tools as a filter
A compatibility checker is not a guarantee that every install will be easy, but it is a good filter. If a brand's own tool says the setup is not compatible, do not try to outsmart it without professional help.
Compare the full install, not just the device
A lower-cost thermostat can become less simple if it needs an adapter, extra wiring, or professional installation. A slightly more expensive model may be the calmer choice if it supports the existing system more clearly.
Pros and Cons of Checking Before You Buy
Fewer returns
You are less likely to buy a thermostat that cannot support your wiring, voltage, heat pump, or accessory setup.
Cleaner budgeting
Adapters, power connectors, or professional installation can be considered before the purchase instead of becoming a surprise later.
Safer decisions
Checking labels, manuals, and official compatibility tools reduces the temptation to guess at wiring or system settings.
Takes a little patience
The check can feel slower than shopping by features, especially if the old thermostat labels are hard to read.
May reveal a pro-only job
Some systems are not good beginner projects, which can be frustrating if you expected a quick do-it-yourself swap.
Common Smart Thermostat Compatibility Mistakes to Avoid
The most common mistake is treating thermostat replacement like changing a light bulb. The device is small, but the system behind it may be specific.
- Assuming all smart thermostats use the same wires: different models support different terminals, stages, and accessories.
- Ignoring line voltage: electric baseboard and other high-voltage controls need thermostats designed for that type of system.
- Guessing the C wire: a wire connected to C at the thermostat should also be confirmed at the equipment side when possible.
- Skipping heat pump details: O/B reversing valve, auxiliary heat, emergency heat, and dual-fuel systems deserve extra care.
- Buying for app features first: scheduling, sensors, and voice control only help after compatibility is settled.
- Throwing away the old thermostat too soon: keep it until the new thermostat has been tested across normal heating and cooling use.
A Simple Compatibility Checklist
Before buying, answer these questions. If any answer is unclear, pause the purchase until you can verify it.
- Do I know the current thermostat terminal labels? Use photos, not memory.
- Do I know the system type? Furnace, heat pump, boiler, radiant, and electric baseboard systems can require different thermostats.
- Is the system low-voltage? Do not buy a typical 24V smart thermostat for a line-voltage system.
- Does the model support my heat and cool stages? Check the spec sheet or compatibility result.
- Do I have a C wire or approved power option? If not, price the adapter or professional help before buying.
- Did the manufacturer checker say compatible? Save the result or take a screenshot for reference.
When to Get Extra Help
Get extra help if you see thick wires, wire nuts, high-voltage warnings, unlabeled terminals, proprietary terminals, stranded wiring you do not understand, or equipment settings that mention installer setup. Those are signs that the decision may be bigger than choosing an app.
You should also ask a qualified HVAC professional before changing heat pump, auxiliary heat, emergency heat, dual-fuel, zone control, humidifier, dehumidifier, or boiler controls. A smart thermostat should make daily routines calmer, not turn your HVAC system into a guessing project.
Frequently Asked Questions
What should I check first for smart thermostat compatibility?
Check the existing thermostat terminal labels and the type of heating and cooling equipment in the home. Those two details guide most compatibility checkers.
Do I always need a C wire for a smart thermostat?
No, not always. Some models can work without one or use an approved adapter, but the answer depends on the thermostat model and HVAC system.
What should I do if I am not sure what a wire does?
Do not guess from color alone. Check the old thermostat label, the HVAC control board, the product manual, or ask a qualified HVAC professional.
Can I return to my old thermostat if the new one does not work?
Often yes, if the original thermostat and wiring photos are kept, but do not disconnect or reconnect wires if you are unsure. Get help before changing wiring again.
Final Thoughts
Smart thermostat compatibility is the practical part of the purchase that protects the rest of the decision. Before buying, collect photos, write down wire labels, identify the equipment, and use the manufacturer's compatibility checker.
If the result is clear, you can shop with more confidence. If the result is confusing, that is useful information too. It means the calmer next step is verification, not guessing.