Room sensors for smart thermostats are useful when the thermostat on the wall is not a good picture of how the rest of the home feels. A hallway thermostat may be comfortable while a bedroom runs warm, a home office feels chilly, or a nursery changes temperature faster than the main living area.
The goal is not to turn every room into a separate climate system. Most homes still have one heating and cooling system serving many rooms. A room sensor simply gives a compatible thermostat more information, so it can make calmer decisions about the rooms you care about most.
This guide explains when smart thermostat room sensors help, when they disappoint, and what to check before buying more devices. WattCalm provides general smart-home and energy-habit information, not electrical, HVAC, or financial advice. Always follow product manuals and hire a qualified professional for wiring or system changes.
Why Room Sensors for Smart Thermostats Matter
Room sensors matter because the thermostat only knows what it can measure. If the thermostat is in a hallway, near a draft, beside a sunny wall, or far from the rooms people actually use, its reading may not match daily comfort.
ENERGY STAR describes smart thermostats as devices that can support scheduling, remote control, and automatic adjustments. That guidance is a useful reminder that the smart features work best when the basic setup is compatible and understood first: ENERGY STAR smart thermostat guidance.
After that source check, bring the decision back to your own rooms. A sensor can help a thermostat notice a bedroom, office, or family room, but it cannot fix blocked vents, poor insulation, closed doors, or an HVAC system that was not designed for separate zones.
Start With Thermostats and Temperature Habits
Before buying sensors, watch your normal temperature habits for a few days. Notice where people actually spend time, which rooms feel off, and whether the problem happens at a predictable time.
Look for repeatable discomfort
A room sensor is most useful when the same room is regularly too warm or too cool during an important part of the day. Examples include a bedroom that overheats at night, a home office that is cold every morning, or a living room that gets afternoon sun.
Separate comfort from curiosity
It can be interesting to see room temperatures, but curiosity alone is not a strong reason to add sensors. The better question is: what would the thermostat do differently with this reading?
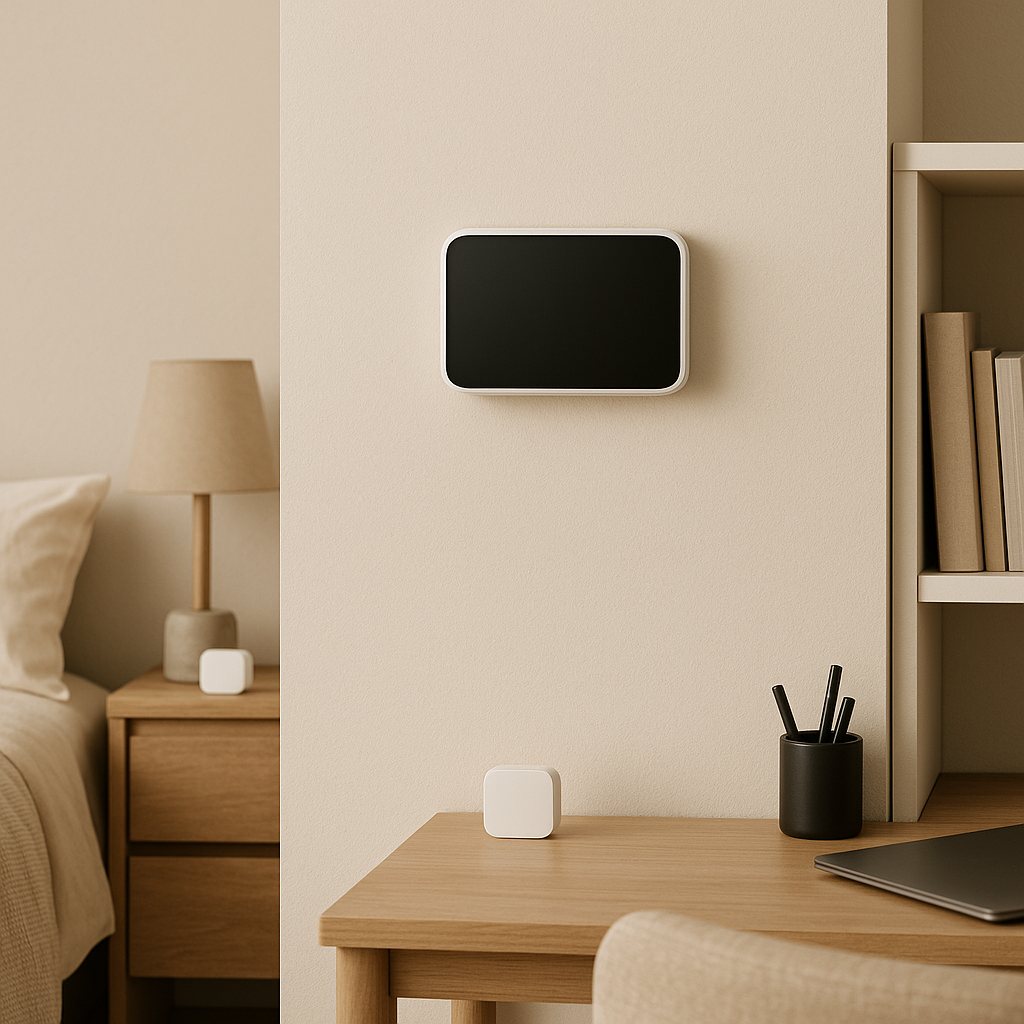
What to Check First for Smart Thermostat Room Sensors
Smart thermostat room sensors are not universal accessories. Some work only with specific thermostat models, generations, apps, or regional product lines. Check compatibility before buying, especially if you already own the thermostat.
Google explains that a Nest Temperature Sensor measures the temperature in the room where it is placed and sends that reading to a compatible thermostat: Google Nest Temperature Sensor help.
That explanation is useful because it keeps expectations realistic. The sensor reports a room temperature. The thermostat still controls the heating or cooling system as a whole, and the exact scheduling behavior depends on the model and app settings.
Another common example is ecobee, which lists smart sensors that detect temperature and occupancy for compatible ecobee thermostats: ecobee SmartSensor information.
Those brand pages should not push you toward one product. They show why the first check is always the same: confirm that the sensor, thermostat, app, and region are meant to work together.
How to Use Room Sensors Step by Step
Use a room sensor as a small test, not a whole-home redesign. One well-placed sensor teaches more than five sensors added without a reason.
- Pick one problem room. Choose a room that feels uncomfortable at a predictable time, such as bedtime, work hours, or evening TV.
- Confirm thermostat compatibility. Check the manufacturer page for your exact thermostat model and sensor generation before buying.
- Place the sensor like a thermostat. Keep it away from direct sun, lamps, vents, exterior doors, humidifiers, fireplaces, and electronics that throw heat.
- Give the system a few days. Watch how the room feels through normal weather and normal household use before changing multiple settings.
- Use simple schedules first. Tell the thermostat which room matters during a specific part of the day instead of letting every room compete all the time.
- Review comfort and side effects. If the target room improves but another room becomes uncomfortable, adjust the routine or remove that sensor from the schedule.
Place sensors where people spend time
A sensor in an empty guest room may create noise in the system. A sensor in the bedroom during sleeping hours, or in the office during work hours, gives the thermostat a clearer job.
Do not expect room-by-room zoning
Most room sensors do not open and close vents, create separate duct zones, or control each room independently. They help the thermostat choose a better average or priority room for a shared system.
Pros and Cons of Smart Thermostat Room Sensors
Better comfort in important rooms
A bedroom, office, nursery, or main living space can guide the thermostat during the hours that room matters most.
Useful clues about uneven rooms
Sensor readings can show whether discomfort is occasional, seasonal, or tied to sunlight, closed doors, or airflow patterns.
Gentler automation
When used with simple schedules, sensors can make smart thermostat routines feel less random and more connected to real household habits.
They cannot fix HVAC design issues
A sensor may reveal a comfort problem, but it cannot repair duct imbalance, insulation gaps, blocked returns, or equipment sizing.
Too many sensors can confuse routines
If every room tries to influence the thermostat, the system may feel less predictable instead of calmer.
Common Mistakes to Avoid
The biggest mistake is buying sensors because they seem like an upgrade, then expecting them to solve every temperature complaint. Start with the room and routine, not the accessory.
- Skipping the compatibility check: sensor names can be similar, but model and generation support still matters.
- Placing sensors near heat or drafts: sun, vents, lamps, windows, and electronics can make readings misleading.
- Using a bad room as the only priority: forcing the system to satisfy one extreme room may overheat or overcool the rest of the home.
- Ignoring airflow basics: closed doors, blocked vents, dirty filters, and covered returns can create problems a sensor cannot solve.
- Changing too many settings at once: add one sensor, test one routine, and review before expanding.
A Simple Checklist
Before you decide that a room sensor is worth it, answer these checks honestly.
- Do I have one room with a repeatable comfort problem? If not, start by improving your thermostat schedule instead.
- Is my thermostat compatible with the sensor? Check the exact model, generation, and app support.
- Can I place the sensor away from false heat or drafts? The reading should represent the room, not a lamp or window.
- Do I know when that room should matter? A bedroom may matter at night; an office may matter during work hours.
- Am I willing to undo the routine if it creates side effects? A calm setup stays reversible.
When to Get Extra Help
Get extra help if one room is always uncomfortable, the thermostat runs constantly, vents have weak airflow, the system short cycles, or the home has zoning, dampers, heat pumps, auxiliary heat, or unusual HVAC controls. Those situations may need maintenance or professional diagnosis, not more sensors.
You should also pause if the app asks for equipment settings you do not understand. Manufacturer help pages are useful for current model details, but wiring, HVAC service, and system balancing should be handled by qualified professionals when the answer is not clear.
Frequently Asked Questions
What should I check first before buying a room sensor?
Check whether your exact thermostat model supports that exact sensor. Then choose one room where comfort problems happen at a predictable time.
How often should I review a room sensor routine?
Review it after the first week, then seasonally. Bedrooms, offices, and sunny rooms can behave differently in winter, summer, and shoulder seasons.
What should I do if I am not sure where to place the sensor?
Use the manufacturer's placement guidance and avoid sun, vents, drafts, and electronics. If the room has a serious comfort issue, ask an HVAC professional before relying on a sensor.
Can I undo these changes later?
Usually yes. Most sensor participation, comfort schedules, and priority-room settings can be adjusted later, but exact steps vary by brand and app version.
Final Thoughts
Room sensors for smart thermostats are most useful when they support one clear habit: sleeping more comfortably, working in a steady room, or making a family space less dependent on a hallway thermostat.
Start with one room, verify compatibility, place the sensor carefully, and review the result before adding more. If the sensor makes the home calmer, keep the routine. If it creates new comfort tradeoffs, adjust or remove it.